Monday, September 27, 2021

Mystery Stamping Results

Spoiler Alert:

Here you will find what I made from reading the Mystery Stamping Clues from my previous post, along with the card Barb made who is the author of the clues.  

Mystery Stamping is so much fun!  There's no right or wrong answer.  You just get going and Bam, there's a cool card!


This is mine.


Here is the inspiration by Barb lol!  What a difference in reading directions.  Mostly I envisioned a door with little friends peeking out.  You can't see it super well but the embossed gray background has Wink of Stella on it to add some sparkle!


See you next time!

Shana & The Big Dogs 


Mystery Stamping Challenge

This past weekend, the team that I am on for Stampin' Up had an awesome StampinPalooza Fall Virtual Retreat event set up by 3 friends who have such fun ideas and are so creative!  There were card making challenges, swaps, mystery stamping, guest speakers, and even a super fun scavenger hunt.  It was so fun!  I am amazed at how much stuff can be done virtually and how cool it can be.  There were people joining in from all over the United States and some of the guest presenters were from England.  

For the Mystery Stampin' Challenge, here were the clues:

Mystery Stamping Clue #1:
Gather Your Supplies:
Stamp set with small images and sentiments (can be two different sets)
Three colors of cardstock plus neutrals that coordinate together.
Coordinating Ribbon and Embellishments of your choice
Embossing Folder
Ink
Adhesives

Mystery Stamping: Clue #2:
Cut your cardstock layers
Cardstock base (can be colored or neutral): 5 1/2" x 8 1/2"
Cardstock embossed: 4" x 5 1/4"
Cardstock: 2 3/4" x 4"
Cardstock: 1 5/8" x 2 1/2"
Cardstock: 1 3/8" x 2"
Cardstock: 1" x 2"
Ribbon: enough to wrap around embossed layer

Mystery Stamping Clue #3:
Wrap ribbon around embossed layer and tie in a bow near the edge, add to card base.
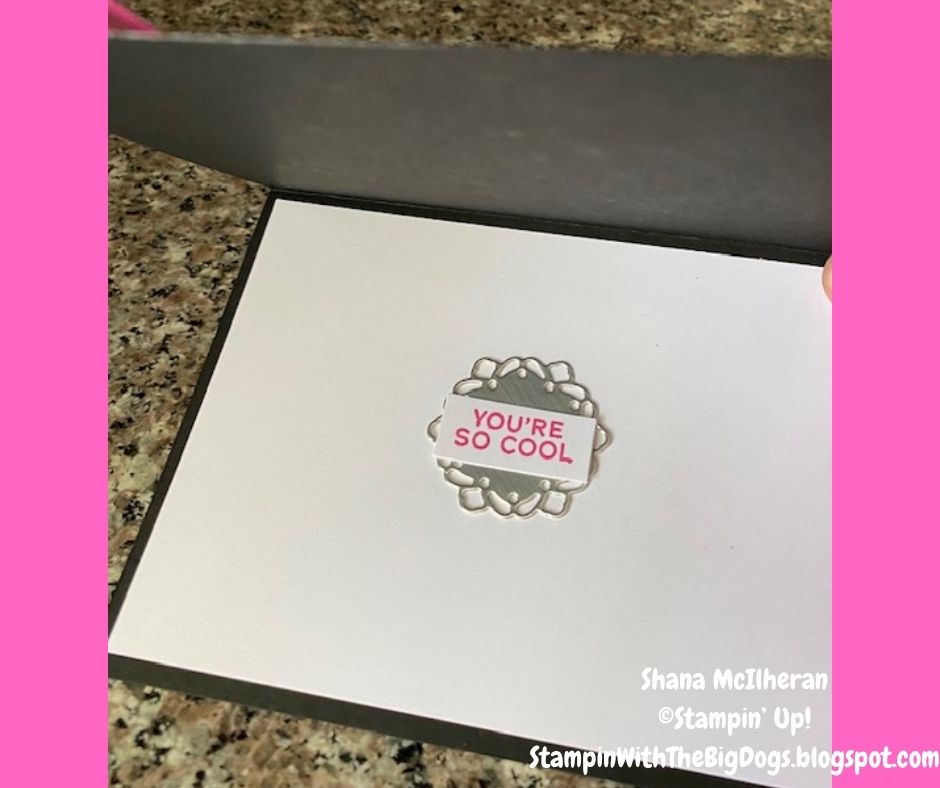
Stamp images/sentiment on three small cardstock layers, arrange and adhere pieces to the 2 3/4" x 4" layer.
Add layer to card with dimensionals.
Add embellishment as desired.

Enjoy!

Give it a go!  I'll share my card and the original card by Barb Mullikin in another post so you can have it as a mystery.  

Can't wait to see what you make!

See you next time!

Shana & The Big Dogs


Monday, September 13, 2021

Pink & Black Glittery Happy Birthday Card

 My friend, Debbie, sent me the coolest card with that she made with the Hat Builders Die Set!  It inspired me to get out my set and make one.  I had been thinking of using my new pack of Black Glittery paper because I own black glittery hats!  Here is what I came up with:


I loved using my Blending Brushes on the embossed piece behind the hat!  I think my friend created a monster.  I want to ink all of my embossed things now!  

If you'd like to make you own, here are some quick instructions (I have a pattern or recipe available to print out in my Facebook VIP group at https://www.facebook.com/groups/260027202503842 (you may have to like my Page to be able to be in the group first...it's always something, isn't it?)  

I started with a card base measuring 8 1/2" x 5 1/2" in Basic Black with a score at 4 1/4".  I then added the Star Crossed Embossing piece on Basic White and used my Blending Brushes to make it fabulous with Polished Pink ink.  The silver circle is made from the Encircled in Beauty Die Set and the very cool Silver Foil pack.  The sentiment is from the Sweet Ice Cream Stamp Set and the ribbon is the Open Weave Polished Pink.  I have all of the items that I used on my shopping website link at My Projects.  Be sure to check out my other projects as well.  If you have any questions about any of my projects, just let me know!


Here's the inside of the card:


Thank you so much!

See you next time!

Shana & The Big Dogs


Stampin' In The Studio...Sunday version!

 Hello!  Today I wanted to work with the newest Paper Pumpkin Kit, show you another kit called Cozy & Bright, and share some of my favor...