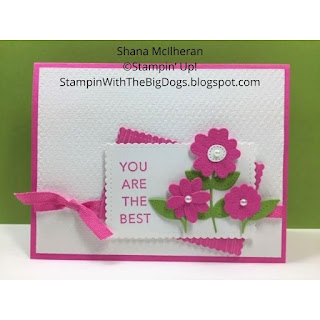
I am a huge fan of this stamp set! It is listed as retiring after May 3, 2021 but I'm hoping that Stampin' Up will reconsider and bring it back. It was designed by a demonstrator in my upline who achieved 1,000,000 sales! That's pretty cool! It even has her name on the case. I just love the big flower! I also love the die set. I have a little bag of extras handy of the flower parts to add onto cards. They pretty much go with everything. You should grab this set (both stamps and die set) before they're gone! (Pretty Perennials)
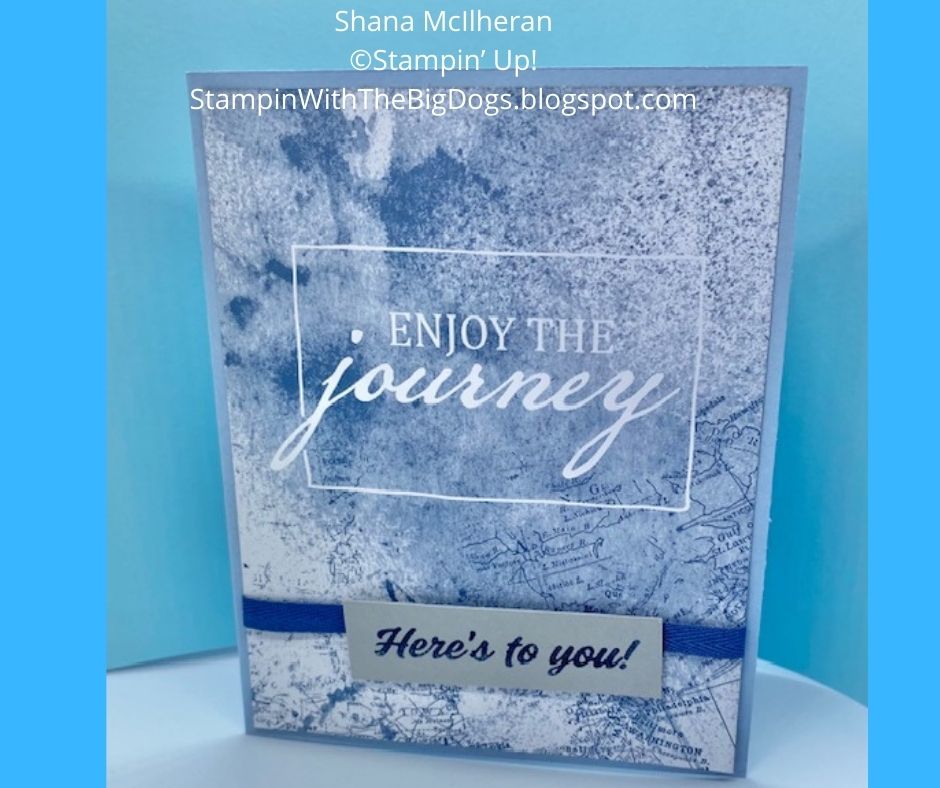
Here is a card I made going with my theme from yesterday: non-traditional Graduation cards. I think this could work as well!
I hope you enjoy it!
Happy
In Pink
All
images © Stampin’ Up!®
Stampin’ Up! Supplies:
·
STAMPS – Pretty Perennials (154435
photopolymer),
·
PAPER – Basic White (159276), Granny
Apple Green (146990), Artistry Blooms Designer Series Paper (152495)
·
INK – Magenta Madness (153117),
Bumblebee (153116), Misty Moonlight (153118)
·
OTHER – Stampin’ Cut & Emboss
Machine (149653), Perennial Petal Dies (154321), Stitched So Sweetly Dies (151690),
Sponge Daubers (133773), Stampin’ Write Markers 2019-2022 colors (153125), Stampin’
Seal (152813), Stampin’ Mini Dimensionals (144108), Mini Glue Dots (103683),
Banner Triple Punch (138292)
Cutting & Scoring:
·
Granny Apple Green 8-1/2” x 5-1/2”,
scored at 4-1/4”
·
Basic White 2 @ 5-1/4” x 4”, 1” x
3-3/4”, & 1-1/4” x 3/4”
Instructions:
·
Using the Magenta Madness Stampin’
Write Marker, flick color onto one of the 5-1/4” x 4” Basic White rectangles.
·
Stamp the large flower from Pretty
Perennials in Magenta Madness onto the Basic White rectangle with the color
flecks. Stamp off ink in lighter color
around the darker stamped images. Stamp
the flower center stamp from Pretty Perennials with Bumblebee ink on the darker
pink flowers. No center needed on
lighter flowers.
·
Stamp a partial large flower on the
lower right corner of the second 5-1/4” x 4” Basic White rectangle. Stamp two lighter partial flowers on either
side. Stamp a Bumblebee center on the darker
flower.
·
Stamp Magenta Madness very lightly
inked large flowers on the Basic White 1” x 3-3/4” strip. After the ink dries, stamp the sentiment “Happy”
with Misty Moonlight over the flowers.
Use Sponge Dauber inked with Bumblebee ink all around the
sentiment. Cut the ends of the strip
with the Banner Triple Punch.
·
Stamp light flower images on the Basic
White 1-1/4” x 3/4" strip. Use
Sponge Dauber with Bumblebee ink around the sentiment. Stamp the sentiment “For You” with Misty
Moonlight ink.
·
Die cut the first stamped rectangle
with the largest rectangle die from Stitched So Sweetly Dies with the Stampin’
Cut & Emboss Machine to create a frame and rectangle.
·
Die cut the three-leaf die from
Perennial Petal Dies on a scrap of green from Artistry Blooms Designer Series
Paper. Cut leaves apart to have three
separate leaves.
·
Use Stampin’ Seal to attach the frame
from the first Basic White rectangle onto the Granny Apple Green card base. Use Stampin’ Mini Dimensionals to attach the
die cut inner rectangle inside the frame.
Use the dimensionals again to attach both sentiments. Attach the die cut leaves with Mini Glue Dots
under the sentiments as shown.
·
Attach the Basic White 5-1/4” x 4”
piece inside the card with Stampin’ Seal.
·
Enjoy!
You can see items needed for this project and others and easily add items to your shopping cart here: